I’ve always had a thing for acrylic nails; they’re bold, they pop, and they can elevate any look instantly. Plus, they last way longer than your regular nail polish. How to take off press-on nails without acetone?
A lot of folks have their acrylics done at salons, but it’s possible to manage this at home too. It does take a good bit of practice to get it right, though, and you’ll need some specific tools like liquid monomer, powder polymer, and artificial nail tips. Mastering the use of these tools to craft the perfect acrylic nails is a bit of a challenge.
Removing acrylic nails is just as technical as applying them, which is why many people prefer heading back to the salon for removal rather than tackling it themselves.
When it comes to removing acrylic nails, many salons rely on acetone. However, acetone can be pretty harsh—it tends to dry out and weaken our nails and cuticles, making them brittle. Given its damaging effects, it’s no surprise that both salons and individuals are starting to look for alternatives.
For anyone in the nail business, whether you’re a technician, a salon owner, or a customer, it’s crucial to be aware of the impacts of acetone. But don’t worry too much—if you’re concerned about using harsh chemicals, there are several effective ways to remove acrylic nails without resorting to acetone.
Keep reading to discover some of the best acetone-free methods for taking off acrylic nails.
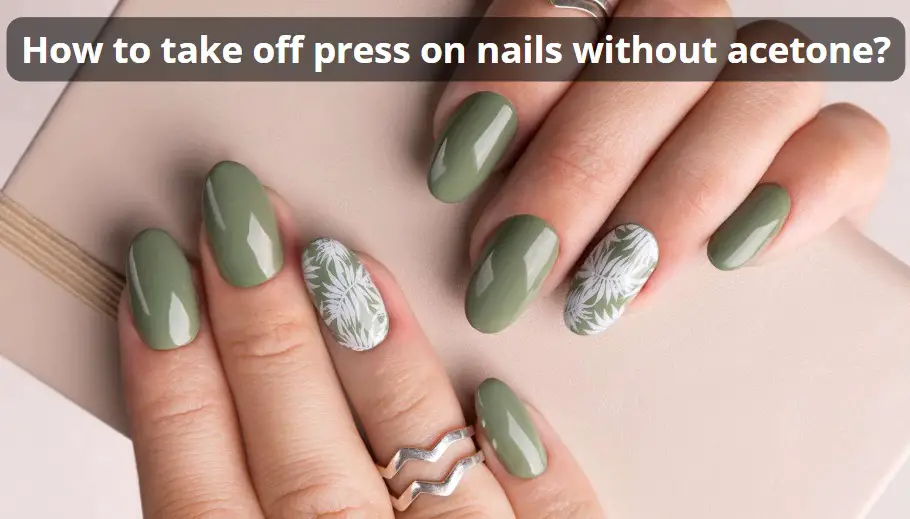
How to take off press on nails without acetone?
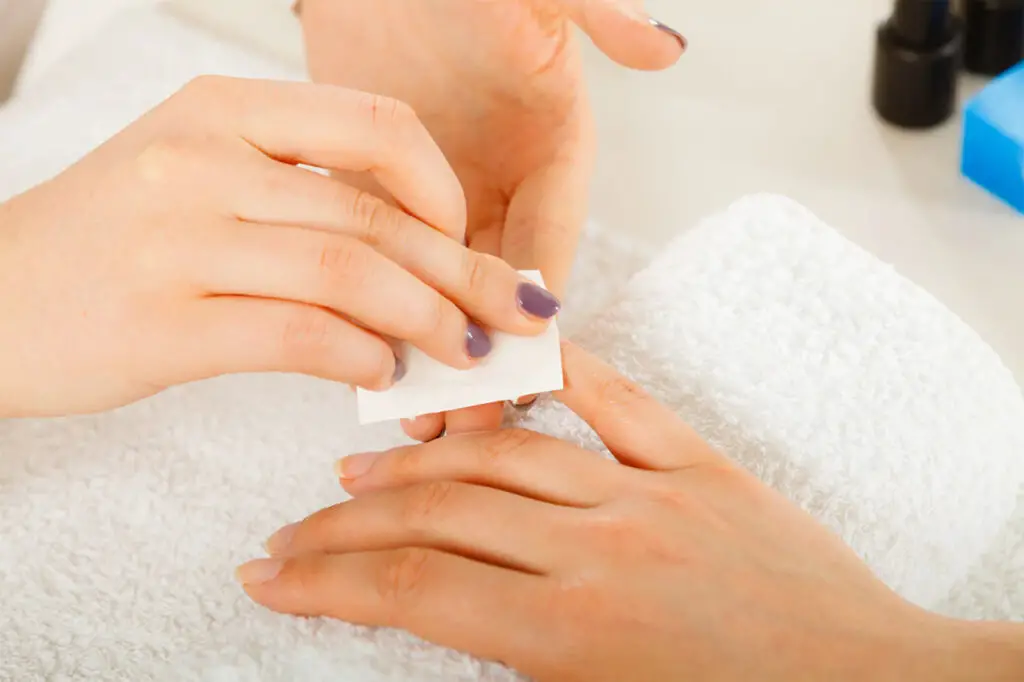
METHOD ONE: USE ACETONE-FREE NAIL POLISH REMOVER

Some nail polish removers do not contain acetone. If available, an acetone-free version can be effective for removing acrylic nails—whether your own or a client’s.
For this procedure, you will need additional implements such as a nail file, nail clippers, and a bowl, along with a considerable amount of time—typically at least 40 minutes.
The initial step in the removal of acrylic nails involves trimming and filing the nails down as much as possible, without causing harm to your natural nails or causing any pain by cutting them too short.
After preparing your nails, pour some acetone-free nail polish remover into your bowl and immerse your nails for about 40 minutes. You should start seeing the acrylic nails loosening up at the 40-minute mark, if not sooner.
Once the nails have begun to detach, gently use tweezers to peel them away. Ideally, the nail polish remover will have sufficiently weakened the acrylics to allow for an easy and gentle removal.
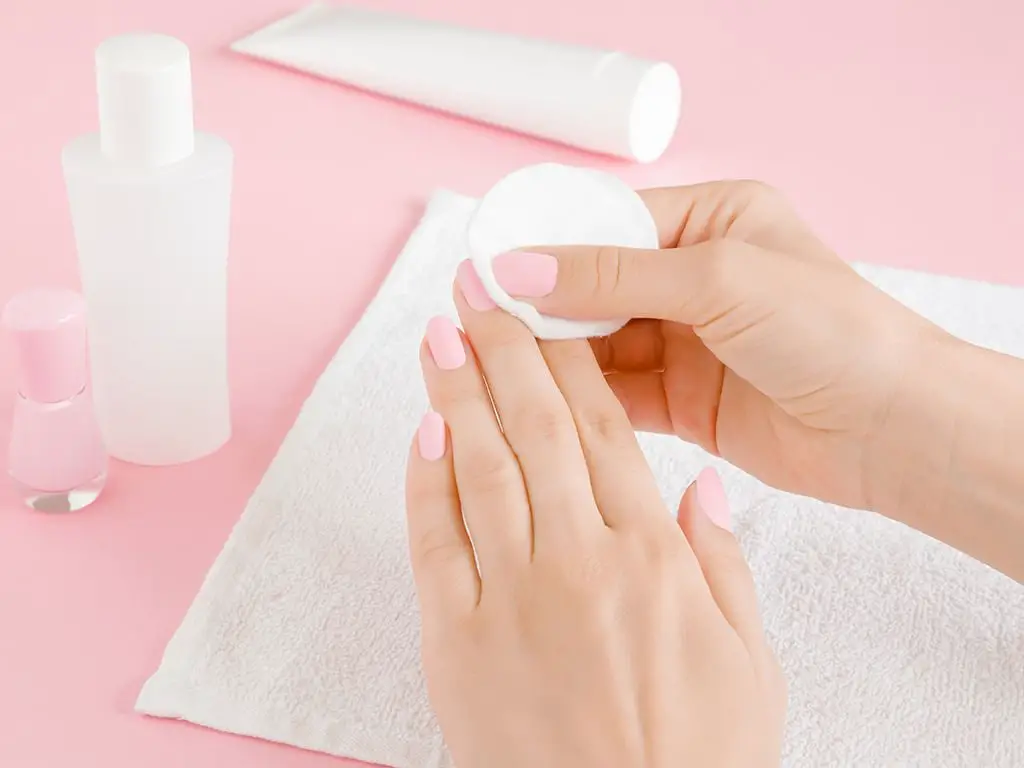
METHOD TWO: TRY CUTICLE OIL
If you’re out of acetone-free nail polish remover, cuticle oil can be a great alternative, especially for nails that are already beginning to detach.
You’ll need a bottle of cuticle oil along with a Q-tip or cotton ball for application.
Begin by saturating the Q-tip or cotton ball with cuticle oil. Press it against each nail for approximately five minutes, particularly targeting the sections where the artificial nail is lifting from the natural nail. This helps the oil penetrate under the artificial tip.
This technique should help ease the removal of your nails. If you have an orangewood stick, you can use it to gently pry under the nails. Should this cause any discomfort or damage to your nails, it’s advisable to halt the process and consider other removal methods.
METHOD THREE: SOAK YOUR NAILS IN WARM WATER
Similar to the first method, this approach also demands a considerable amount of time—about 40 minutes.
Simply take a bowl and fill it with warm water, adding a few drops of hand soap or dish soap for better efficacy.
Trim and buff your nails next, ensuring they are as short as possible without risking any injury. Submerge your nails in the soapy water for up to 40 minutes, gently agitating each nail occasionally to aid in loosening them.
When the nails start to feel loose, use an orange wood stick to gently lift them off. If done correctly, this method should allow you to remove the nails painlessly.
METHOD FOUR: THE DENTAL FLOSS TECHNIQUE
Removing acrylic nails with dental floss is an effective but unconventional and risky method. It could potentially cause pain and damage by pulling off parts of your natural nails.
If you decide to proceed, you’ll need dental floss. Regular floss may require an assistant to help, whereas flossers attached to a stick can usually be used independently.
This method is typically less painful if the acrylic nails have already begun to loosen naturally. If they are still firmly attached, consider using one of the previous methods to help loosen them first.
Begin by using an orange stick or cuticle stick to gently lift the edges of each nail, but avoid completely detaching them.
Then, position the dental floss at the base of your natural nail, near the cuticle, and slide it under the acrylic tip. Gently saw the floss back and forth, working your way under the nail until it is fully removed. Repeat this process for each nail.
Due to the risks involved, proceed with caution and consider switching to a different removal method if the process becomes too painful.
METHOD FIVE: USE BUSINESS CARD
This method of removing acrylic is very similar to the dental floss method. Even if you don’t have dental floss lying around, you may have a business card tucked away in your wallet. In this case, grab the card and get ready to remove those nails.
Again, this technique is ideal for nails that are already a little loose. Using a cuticle stick, peel the edges of each nail upwards, lifting each one away from your natural nails.
If there is a gap between the natural nail and the acrylic nail, insert the business card into the gap. As with dental floss, simply slide the card up towards the end of the nail.
Try to go slowly and remove the nail bit by bit. This will help you avoid damaging your natural nails.
Repeat the process with each nail until you are finished. That’s it – you’re done!
CARING FOR YOUR NAILS AFTER REMOVING ACRYLICS
All the methods above are completely acetone-free, which is great! However, even though they avoid the harmful chemical, these techniques can still cause a bit of damage to your nails. That is why caring for your nails after acrylic removal is absolutely essential.
Whether you see visible damage or not, it won’t hurt to indulge in a little self-care for your nails after taking off your acrylics. We’ve put together a shortlist of the best ways to ensure your nails are as healthy as can be!
Keep your nails short. If your nails look damaged and you want to give them a little time to heal, be sure to keep them trimmed. Don’t wear extensions or acrylics again until your healthy, natural nails are back to normal.
Keep your cuticles moisturized. Cuticle damage is no fun. To heal your hurting cuticles, apply cuticle oil regularly. And don’t forget to moisturize your hands with hand lotion as much as you can!
If you suffer from serious nail problems, it’s best to avoid acrylics and fake nails. It can be tempting to cover up nail issues like fungus with an acrylic manicure, but this can make the issue much worse. It’s best to avoid fake nails until your nails are totally healthy. This is one of the best ways to make sure your nails stay in tip-top shape. Allowing your natural nails to grow and heal on their own will give them a real boost in the long run.